Camden County NJ custom stained checkered kitchen floor
This custom hardwood floor in Camden County, NJ was a super fun project to work on. The clients had previously installed the red oak hardwood floor in their kitchen and were now looking to have it sanded and refinished. So instead of going the usual route of a standard stain and finish, they decided to go full custom, resulting in a wonderfully unique wood floor.

The kitchen is just a few hundred square feet, but it sure makes a statement. First, the entire floor was painstakingly marked out and then taped up. We actually taped up twice as each color needed its own preparations. It was very time-consuming work. Then two custom stain colors were blended and applied. The trickiest part was keeping the stain from bleeding into the next block and keeping the lines crisp and clean. Below you can see progress photos of the entire staining process to get the custom checker pattern…
Project details...
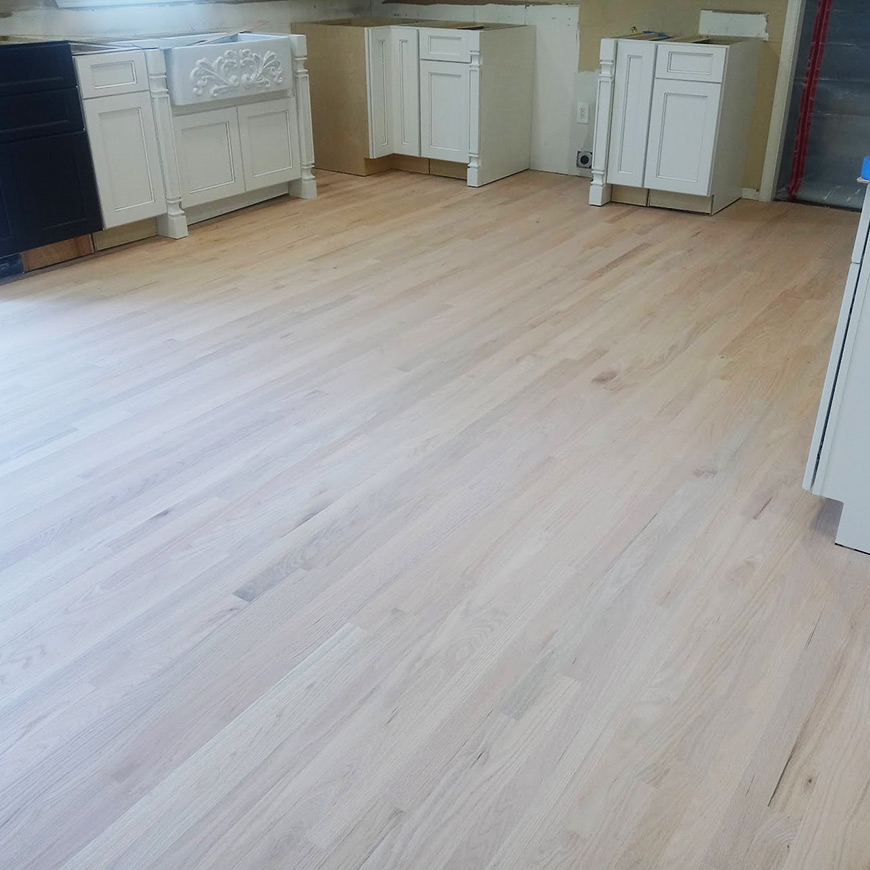
So as mentioned above, we didn't install this floor. The homeowners had installed it before hiring us. Instead, we were here to work our staining and refinishing magic. So to begin, we sanded the floor with multiple passes with our sanders and got it up to staining level. Once that was done, the layout of the checkered pattern began. That took quite a bit of time as it had to be spaced evenly between the walls and cabinets. A small part of a square on one wall and a larger part of a square on the opposite wall would throw the entire design off.
Once the layout was complete, we began taping off the squares, as you can see in the photo below…
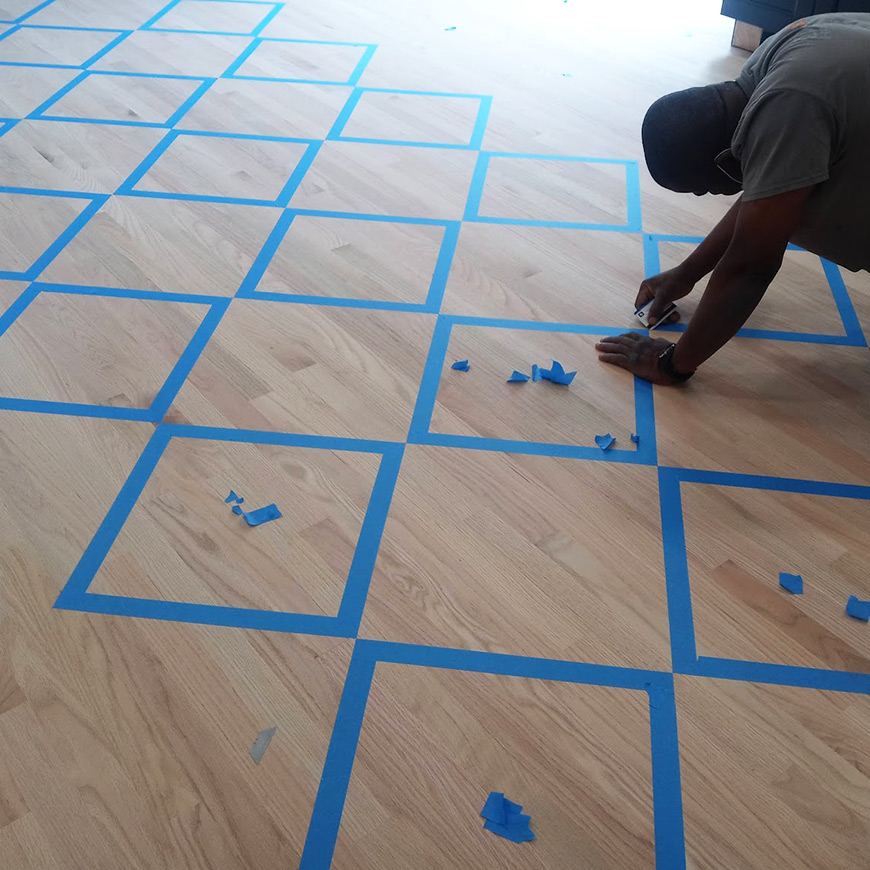
The taping was done with blue painter's tape. We used a credit card to burnish the edges, so they solidly adhered to the floor. Any lift in the tape would mean the stain would flood the border of the block and ruin the crisp lines we needed. This was a lot of detailed work. But well worth the effort.
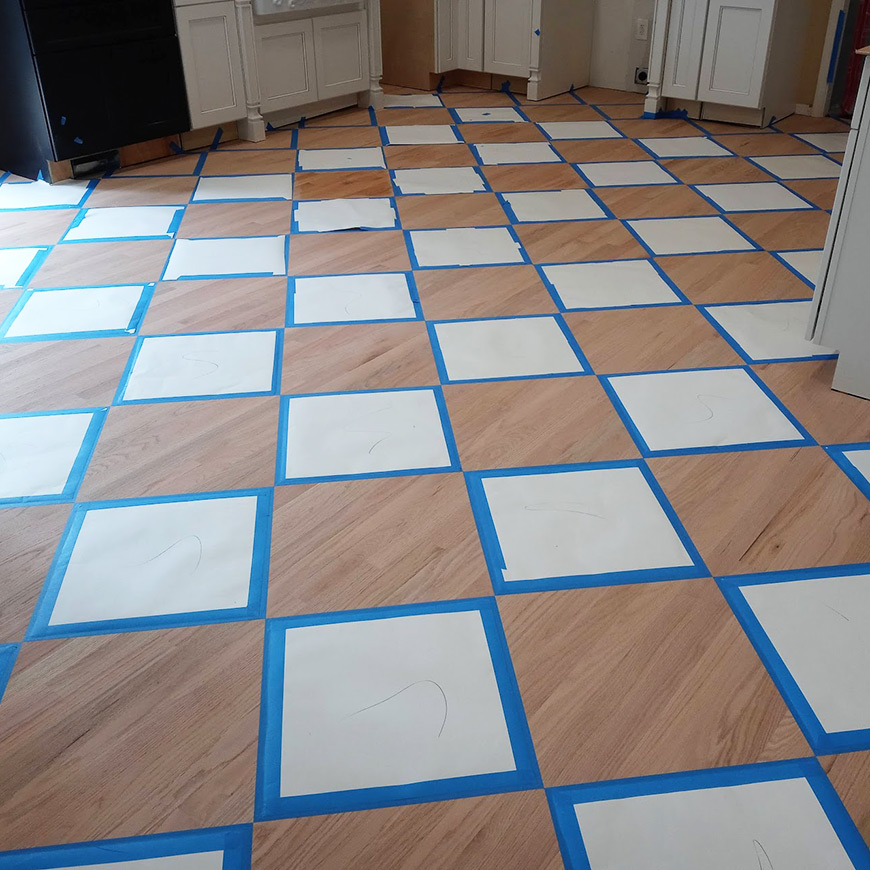
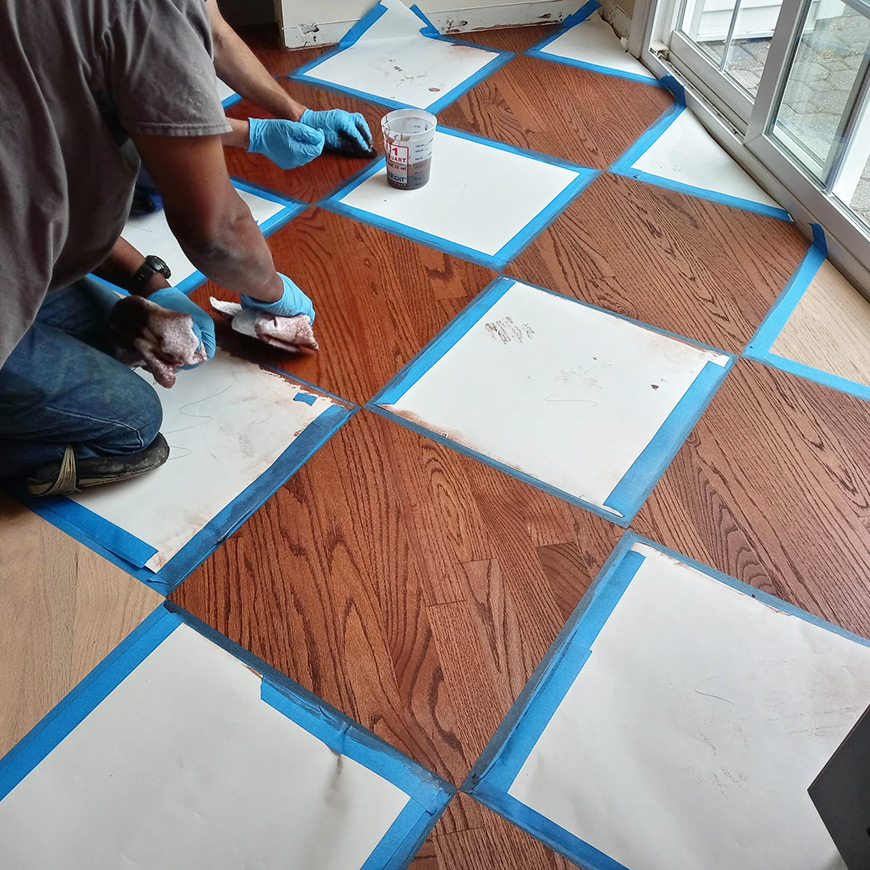
Once the tape was all laid out and burnished, we began covering the areas we wouldn't stain with paper cut to the exact size. We then taped the paper in place, as you can see below…

With the floor now prepped for the first color, staining could begin. The first color used was a custom blend of 2 parts, English Chestnut and 1 part Red Mahogany. Here we are carefully applying the stain to the first set of squares…
Now that the first stain color was on, we carefully removed the tape. That was the most stressful part, taking the tape up, hoping there was no bleed-through. Thankfully all our careful prep worked out. Beautiful crisp, straight lines!


Here's a closer look at the first set of checker blocks…

The next step was to do the same process all over again. This time taping up the edges of the squares we had just stained so the darker color stain could fill in the blank checkers. Below you can see us taping and burnishing the floor all over again…

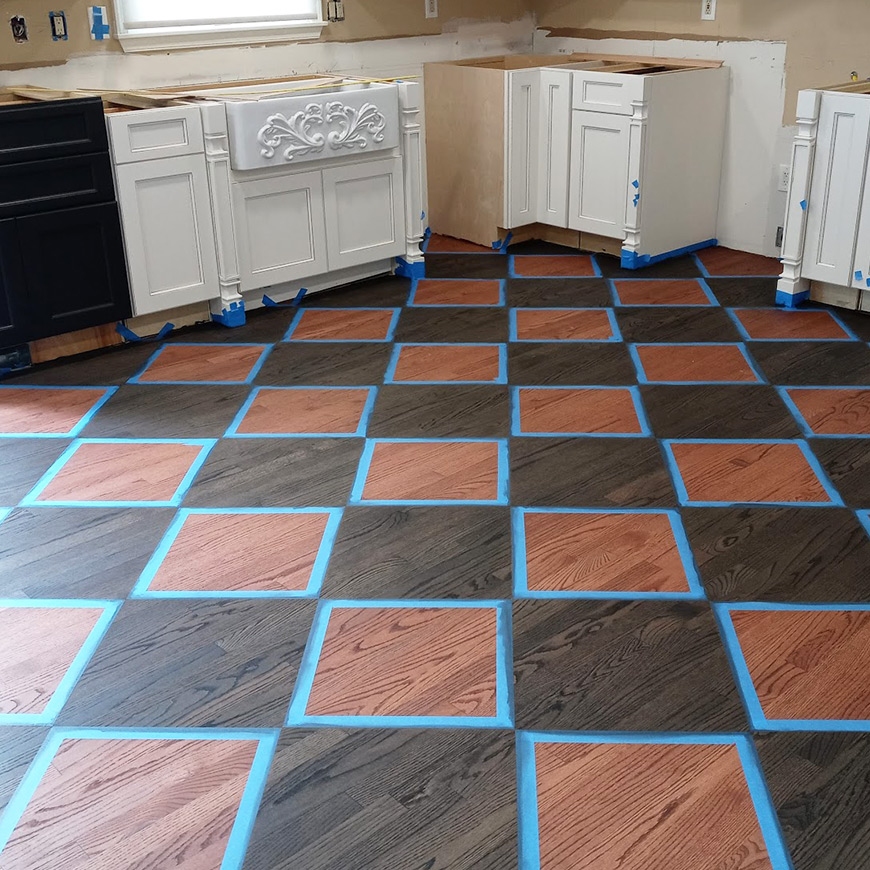
You can see the floor in the photo on the right above after we applied the second color. This color stain was a mix of 4 parts Ebony and 1 part True Black. Again, thankfully there were zero bleeds on the edges. All our painstaking, detailed taping efforts paid off.
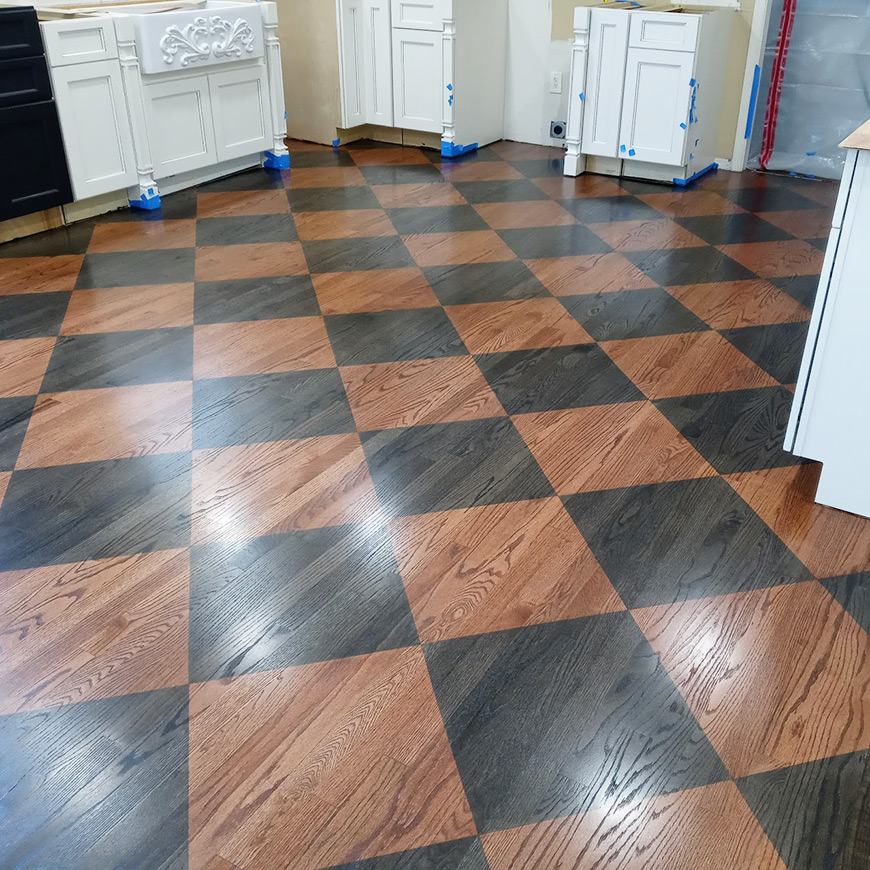
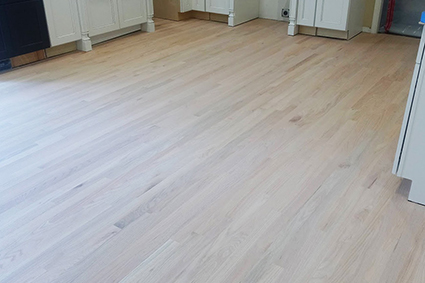
Once the stain had dried, the next step was coating the floor with finish. The customers chose to invest in the silver finish system to protect their kitchen floor. So we used Basic Coatings Versaseal and finished with Streetshoe satin for the top coat. Excellent durability and easy to clean and maintain.
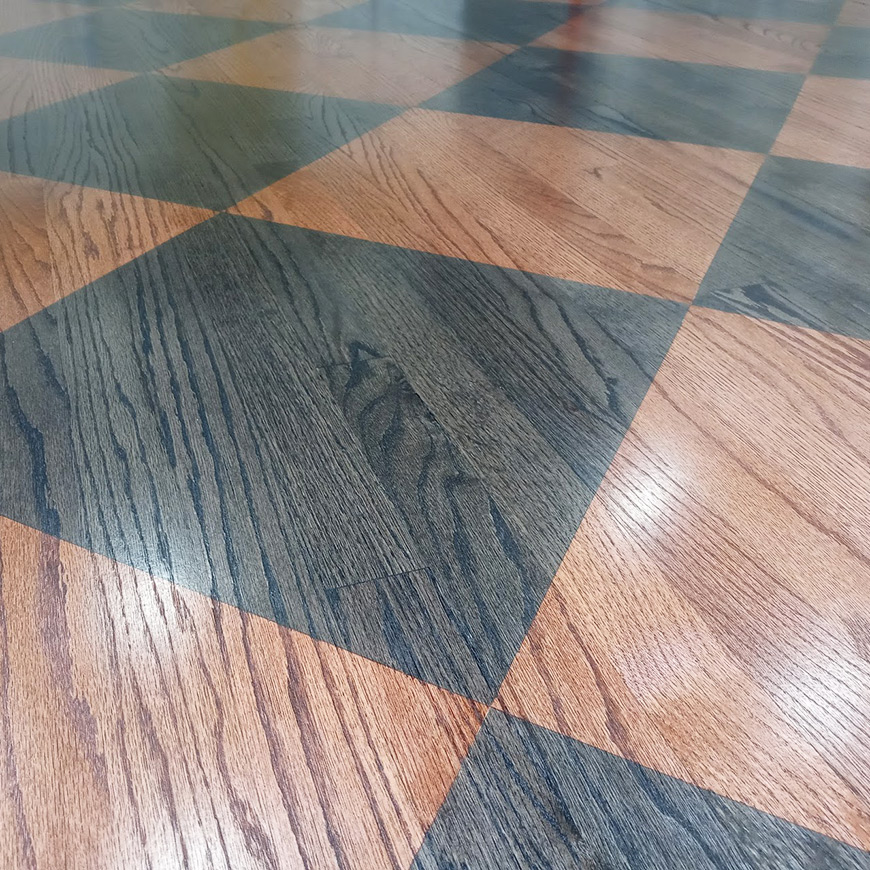
Here is a close up phot of the finished result...
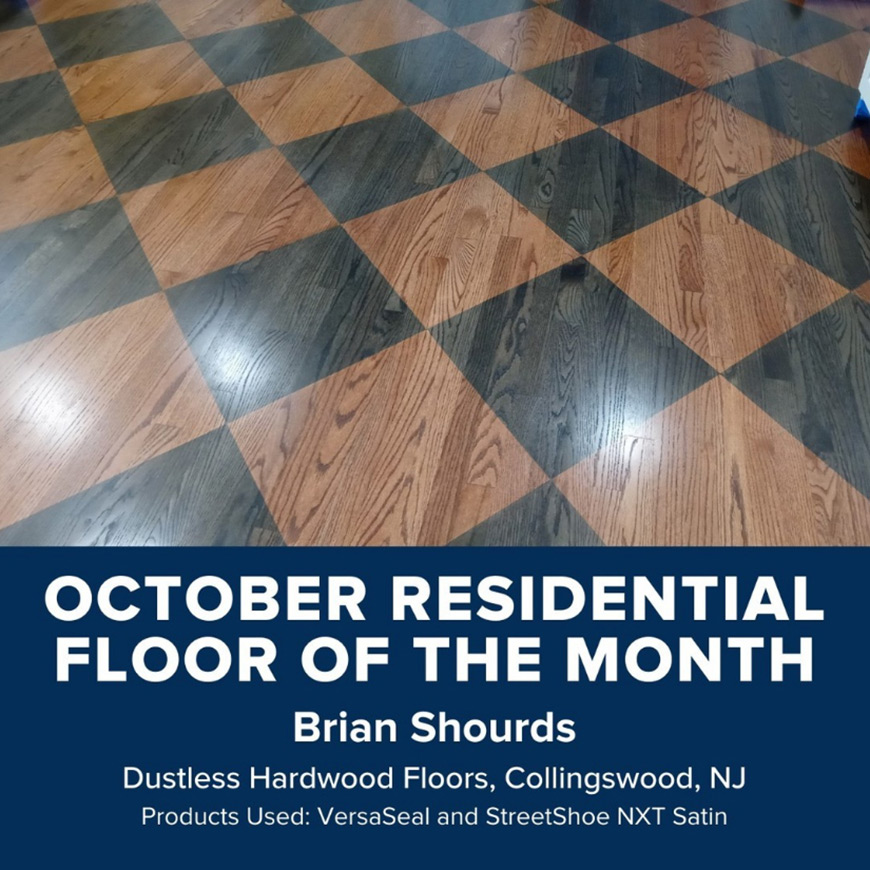
We loved the final result of this custom hardwood floor in Camden County, NJ, as did the homeowners. Some others thought it was pretty special as well, as we won the October 2022 Floor of the Month competition that hardwood floor finish manufacturer Basic Coatings runs each month!
HAPPY CLIENT feedback
It was such a pleasure working with Brian of Dustless Hardwood Floors. He did an AMAZING job on restoring our kitchen floor. I did not think they would ever look as good as they do. They look even better than before!! When he advertises dustless, he is not kidding. I didn’t even have to wipe my walls down when the job was completed. You could say we are very happy customers and highly recommend DUSTLESS HARDWOOD FLOORING!!Cheryl Ginipro | 5 Star Review on Google
Would you like similar results for your floors?
If you'd like a custom pattern on your hardwood floor or even a standard stain and refinish, they reach out to see what we can do for you. Click here to Schedule Your Estimate and we’ll be in touch.